
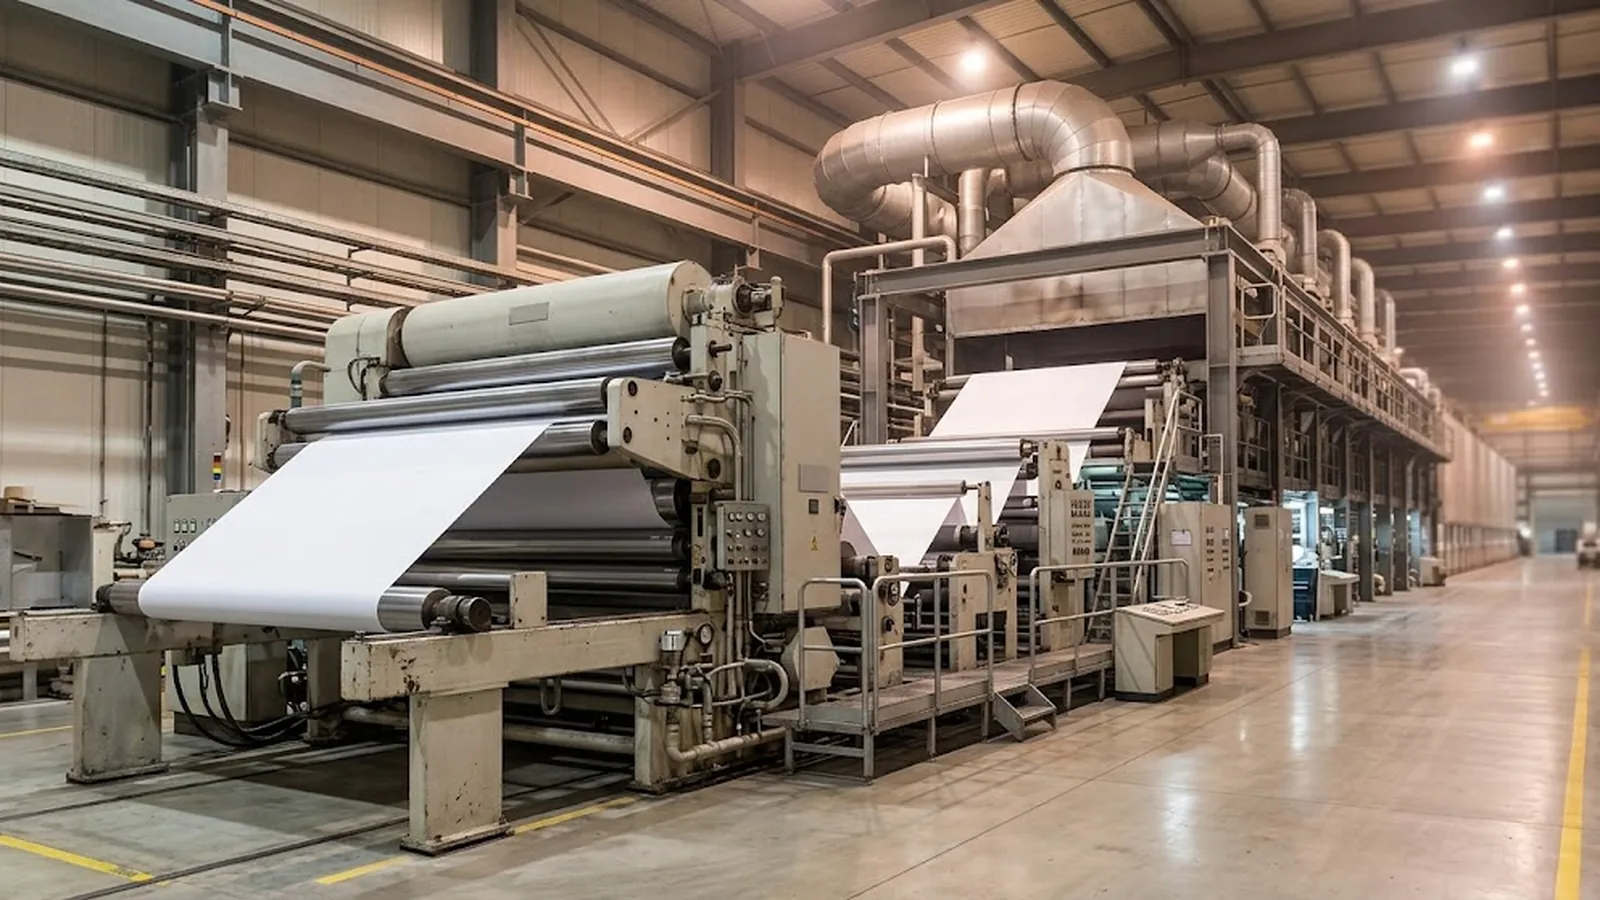
Thermal paper is made by coating a smooth base paper with a heat-sensitive chemistry: a precoat evens out the surface, the thermal layer holds a leuco dye and a developer that react when heated to form the printed image, and an optional topcoat protects that image from water, oils and abrasion. The coated web is supercalendered for smoothness, wound into large jumbo rolls, then slit and rewound into finished receipt or label rolls.
Most buyers compare thermal paper by weight, width and price, yet the difference between a crisp, dark print and a grey, blotchy one comes down to how the paper was made. Thermal paper is not simply paper — it is a layered construction in which each coating step changes image density, sensitivity, shelf life and cost.
This guide walks through the manufacturing process in the order it happens on the coating line, from base paper selection through precoat, thermal layer, topcoat and calendering, and finishes with jumbo roll converting and quality control. It is written for procurement teams, distributors and converters who want to understand what they are actually specifying when they buy a grade.
The same structure explains common purchasing questions: why top coated paper costs more, why two 55 gsm grades can print differently, and why a manufacturer with an in-house coating line can respond to a specification change faster than a pure converter.
- Thermal paper is a layered construction: base paper, precoat, heat-sensitive thermal layer and often a protective topcoat.
- The image forms inside the thermal layer, where leuco dye and developer melt and react under the print head.
- Top coated paper trades a higher price for better resistance to water, oil, plasticisers and abrasion.
- Supercalendering creates the smoothness that allows thin, sharp imaging at low print energy.
- Most commercial thermal paper is supplied as jumbo rolls first, then slit and rewound to the widths each market needs.
The layered structure of thermal paper
A finished thermal sheet is best understood as a stack of functional layers. The base paper provides body, stiffness and opacity. A precoat — sometimes called a barrier coat — sits directly on the base paper and creates a uniform, closed surface. The thermal layer carries the imaging chemistry, and a topcoat, where specified, protects the developed image.
Each layer has a measurable job. If the precoat is thin or uneven, the thermal chemistry follows the fibre texture of the base paper and the print looks mottled. If the thermal layer is under-applied, image density drops and the head needs more energy. If the topcoat is omitted, the image is more exposed to moisture, oils and handling.
This is why two grades at the same basis weight can behave very differently in the same machine: the difference is usually in coating weights and formulation quality, not in the paper you can see.
Step 1: selecting and preparing the base paper
Production starts with a high-quality base paper, typically in the 40 to 70 gsm range depending on the target grade. The base stock must be clean, evenly formed and dimensionally stable, because every later layer inherits its flaws. Fibre distribution affects smoothness; moisture content affects curl behaviour after coating and in the printer.
The base paper arrives in large parent rolls and is spliced onto the coating line under tension. Before coating, the surface may be sized or lightly calendered so the first liquid coating applies evenly and does not sink excessively into the sheet.
- Clean, uniform base paper prevents visible fibre pattern in the developed image.
- Moisture and dimensional stability control curl after coating and after printing.
- Base paper weight sets the ceiling for the finished grade: a 48 gsm finished sheet starts from a lighter base than a 75 gsm one.
Step 2: the precoat
The precoat is a thin mineral-pigment layer — usually a blend of pigments and binder — applied across the full web width. Its purpose is surface preparation rather than imaging: it fills the pores between paper fibres and presents a level, absorbency-controlled surface to the thermal layer.
A well-built precoat improves image sharpness noticeably, because the dye chemistry stays near the surface instead of wicking into the sheet. It also reduces the amount of expensive thermal chemistry needed to reach the same density, which is one reason premium grades print darker at lower energy than economy grades.
The precoat is dried immediately after application as the web travels through the coater's ovens, and its coat weight is checked continuously with online gauges.
Step 3: the thermal coating layer
The thermal layer is the heart of the product. Its two essential ingredients are a leuco dye — colourless in its normal state — and a phenol-type developer, dispersed together in a binder with pigments, sensitizers and stabilizers. At room temperature the two reactants are kept apart in solid form; nothing happens.
When the print head contacts the surface and delivers a pulse of heat, that spot melts. Dye and developer dissolve into each other and react, and the melt solidifies almost instantly as a dark image pixel. Sensitizers control the temperature at which this happens, which is why grades are matched to printer energy classes — a high-sensitivity receipt paper develops fully at low energy, while an archival-style grade is deliberately less reactive for better image retention.
Coat weight in this layer is typically a few grams per square metre, controlled tightly across the web. Too little and the print goes grey; too much and the surface can scuff and the cost rises without a matching benefit.
| Component | Role in the image |
|---|---|
| Leuco dye | Colourless precursor that becomes the visible dark image when it reacts |
| Developer (phenolic or alternative) | Reacts with the melted dye to trigger colour formation |
| Sensitizer | Lowers the melting point so the head's energy is used efficiently |
| Binder and pigments | Hold the chemistry on the surface and control coating rheology |
| Stabilizers | Protect the developed image from fading caused by heat, humidity and time |
Phenol-free and BPA/BPS-free constructions use alternative developer chemistry; the coating principle is identical.
Step 4: the topcoat — and top coated vs non top coated paper
Where the end use demands it, a final topcoat is applied over the thermal layer. This is a thin protective film, usually pigment-and-binder based, that shields the developed image from water, oils, plasticisers and surface abrasion, and can also improve head cleanliness over long runs.
The trade-off between top coated vs non top coated thermal paper is straightforward. Non top coated paper is cheaper and prints slightly more efficiently because the head touches the thermal layer directly; it suits short-life receipts stored in dry conditions. Top coated paper costs more but keeps labels and documents readable through condensation, oily fingers, self-adhesive contact and long storage — the normal environment for logistics labels, tickets and archival records.
A useful rule for buyers: if the printed document must survive more than a few months, or will touch plastics, adhesives or moisture, specify a top coated grade and confirm image retention requirements with the supplier.
Step 5: calendering, inspection and jumbo roll winding
After the final coating and drying pass, the web is supercalendered — passed between alternating hard and soft rollers under heat and pressure. Calendering compresses the surface to a high, uniform smoothness, which is what allows a thin paper to image sharply at high print speeds.
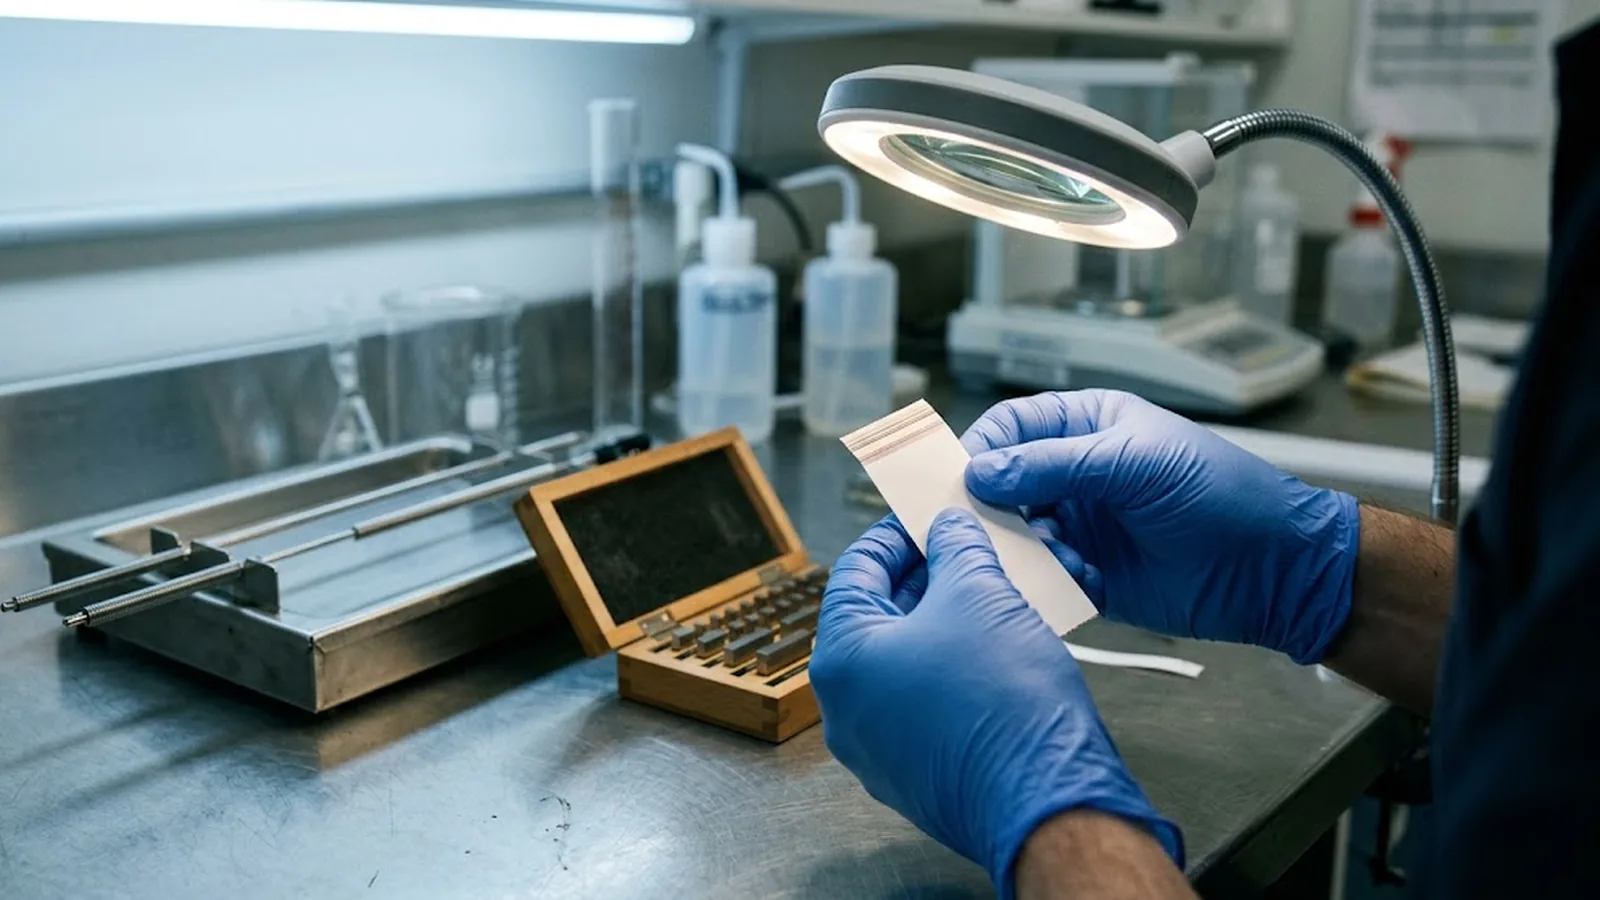
Finished properties are then measured: basis weight, caliper, coating weight distribution, smoothness, background whiteness and dynamic imaging density on a laboratory print test. Rolls that meet specification are wound into jumbo rolls — parent rolls commonly from around 400 mm up to 1 metre and more in width, and thousands of metres long.
The jumbo roll is the natural trading unit of the industry. Converters buy jumbos and slit them into the finished widths their markets need, which is why a manufacturer who controls coating and converting can supply both a 55 gsm receipt grade and a 4x6 label stock from the same production system.
Step 6: slitting and rewinding into finished rolls
Converting turns each jumbo into saleable rolls: the web is slit to the ordered width, rewound onto cardboard or coreless cores to the ordered outside diameter, and wrapped to protect the coated surface from light, dust and humidity in transit.
Quality control continues here. Edge quality after slitting affects how the roll tracks in the machine; rewind tension affects roll hardness and how far the last metres print before the roll runs out; core size determines fit on the spindle. These converting variables matter to the end user as much as the coating recipe, and they are the reason a complete specification includes width, diameter, core and length together.
What the process means for your purchasing decisions
Understanding the production sequence makes quotations easier to read. When one supplier is cheaper for the same gsm and size, the difference usually sits in one of the layers: a lighter precoat, a lower-sensitivity thermal formulation, or the absence of a topcoat. None of these is automatically wrong — a short-life receipt program genuinely does not need archival chemistry.
The practical habit is to specify intent rather than just numbers: document life, storage environment, required image density and machine type. A factory that runs its own coating line can adjust those inputs between production campaigns, which is exactly what an OEM or private-label program needs.
- Ask which layers your grade carries: precoat only, or precoat plus topcoat.
- Request a print sample from the actual production lot, not a generic brochure sheet.
- Match the grade's sensitivity class to your machines so the head runs at efficient energy.
- Confirm image retention expectations in writing for any document kept longer than a year.
Frequently asked questions
What is thermal paper made of?
It is a base paper coated with a precoat, a heat-sensitive layer containing a leuco dye and a developer, and often a protective topcoat. The visible image is produced inside the thermal layer when the print head melts the chemistry and the dye reacts with the developer.
Why does top coated thermal paper cost more?
The topcoat is an additional coating pass and material. It buys resistance to water, oils, plasticisers and abrasion, which extends how long the printed image stays readable. For short-life receipts it may be unnecessary; for labels and archival documents it is usually worth the premium.
Does the coating make thermal paper sensitive to heat in storage?
Yes. The same chemistry that develops under the print head can react slowly to heat, sunlight and some chemicals over time. That is why rolls are packaged to limit light and humidity exposure, and why storage guidance from the supplier should be followed for any printed document you need to keep.
Can two papers with the same gsm print differently?
Easily. Basis weight describes the finished sheet's weight, while image density and sensitivity come from the coating layers. Precoat quality, thermal coat weight and formulation determine how dark and sharp the print is at a given energy.
Why is thermal paper supplied as jumbo rolls?
Coating runs most efficiently on wide, long webs, and jumbo rolls are the stable form in which coated paper is inspected, transported and traded. Converting jumbos into final widths on slitter-rewinders lets one production lot serve many different roll sizes and markets.